Puzzle Painting
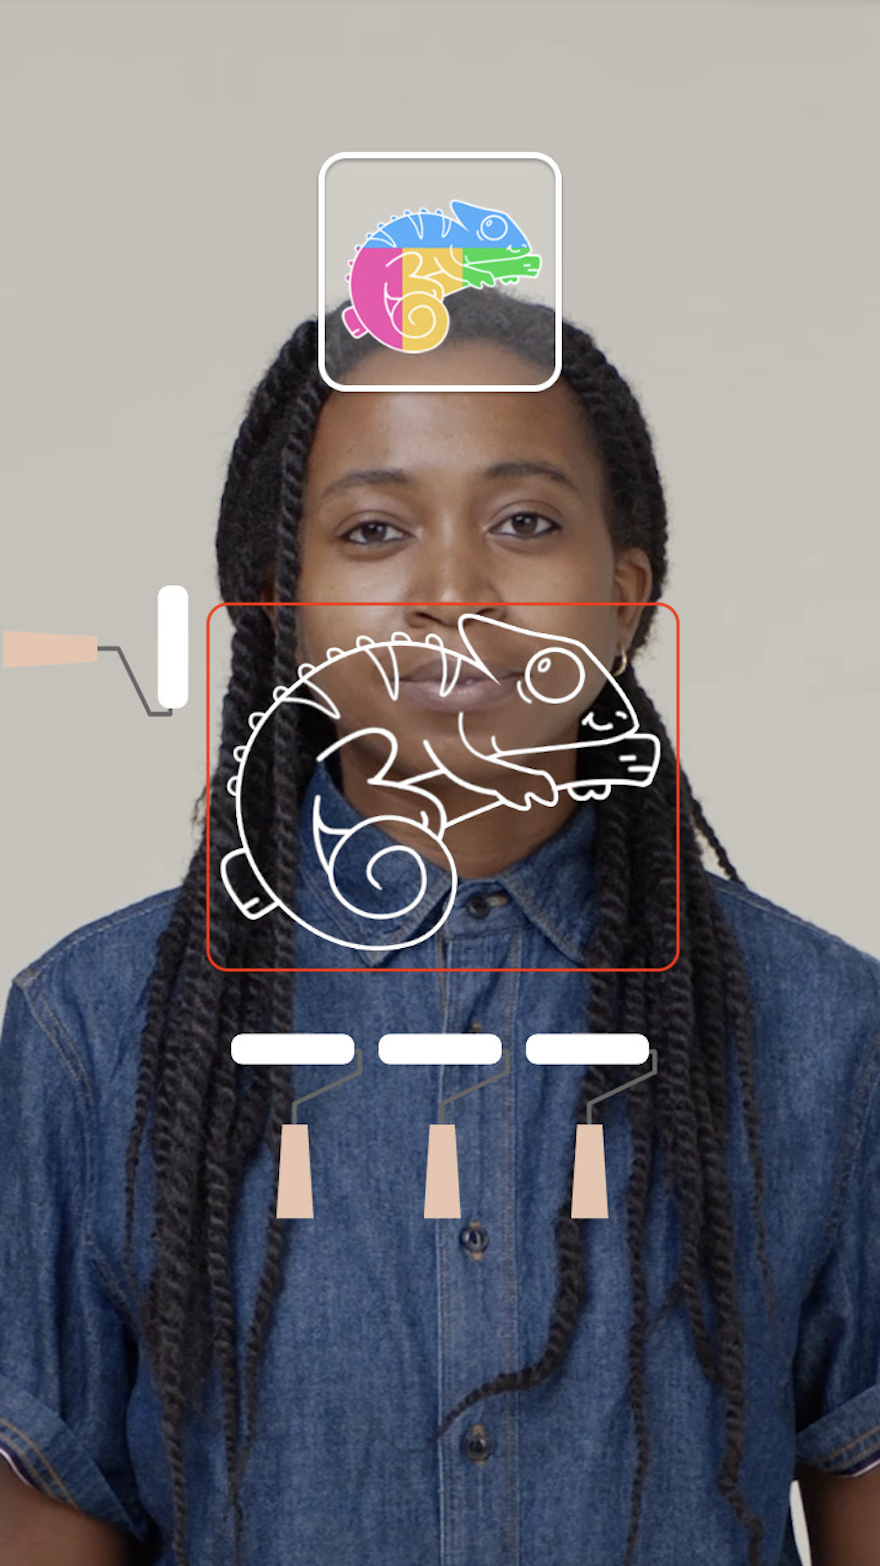
The Puzzle Painting template is a puzzle game where you're tasked with painting an image by following the correct sequence to match the reference color displayed at the top. Add your personal touch to this template by using your own puzzle design!
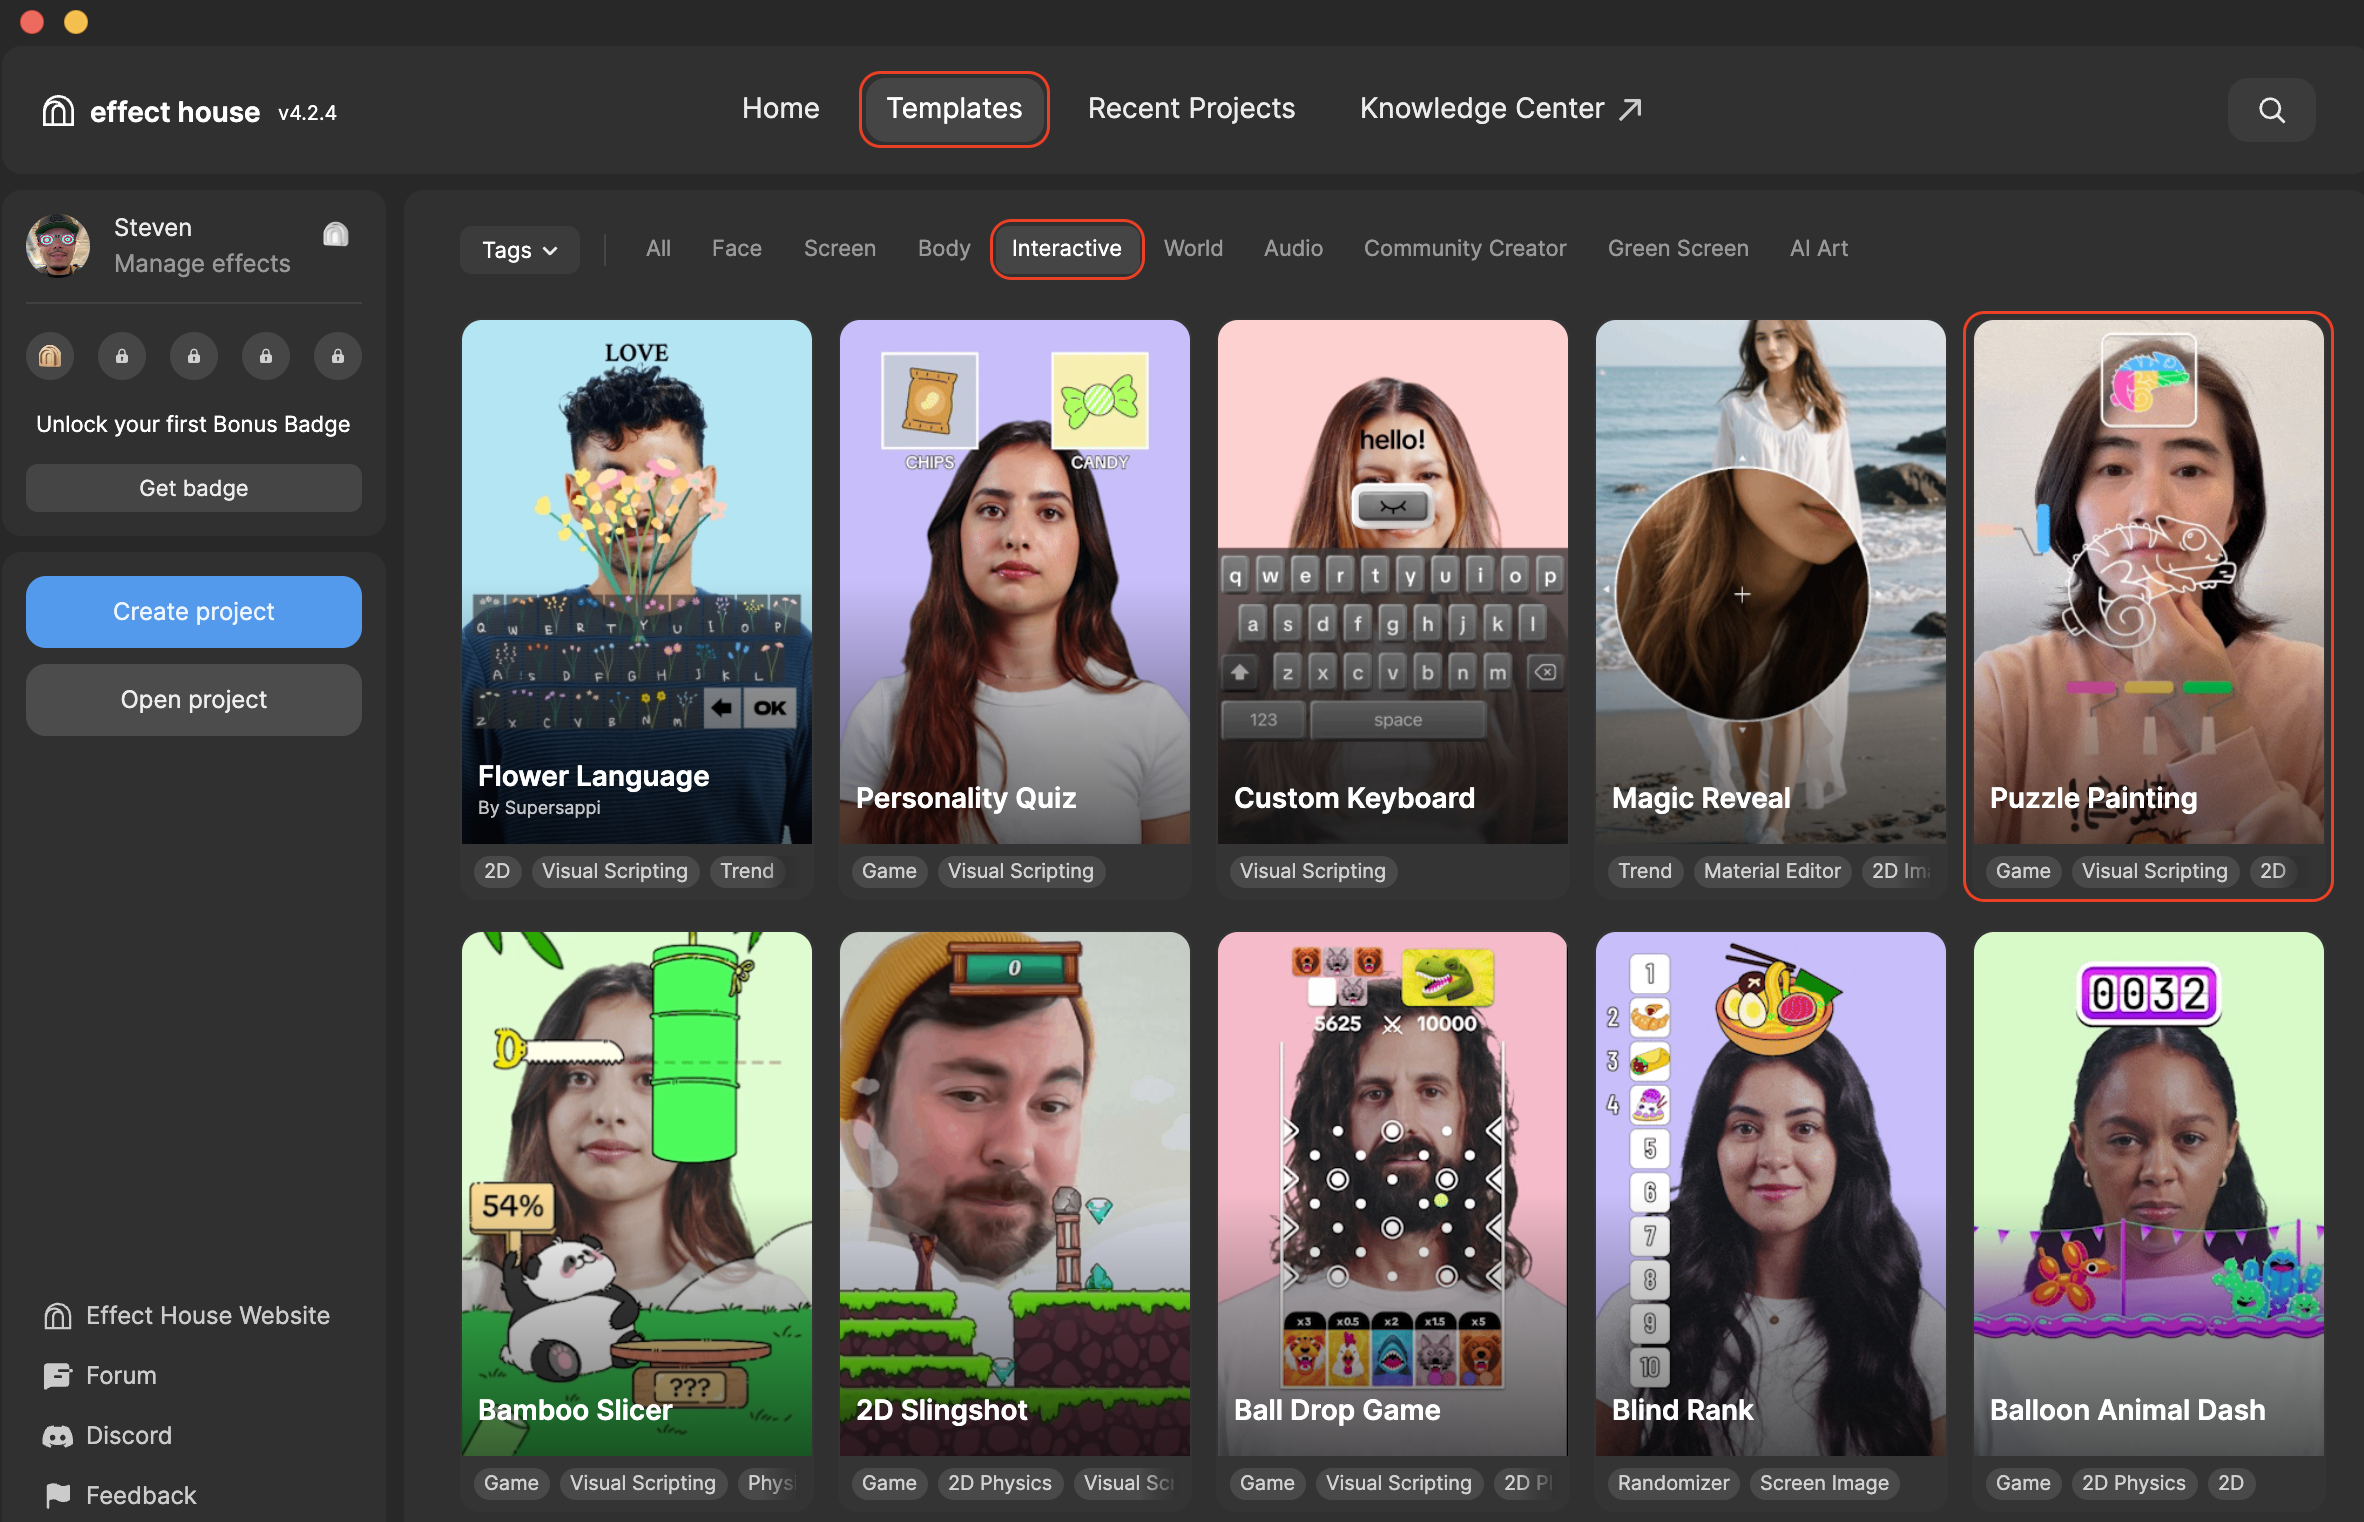
Open the Template
To use this template in your Effect House project:
- Go to Templates
- Click the Interactive tab
- Select the Puzzle Painting template
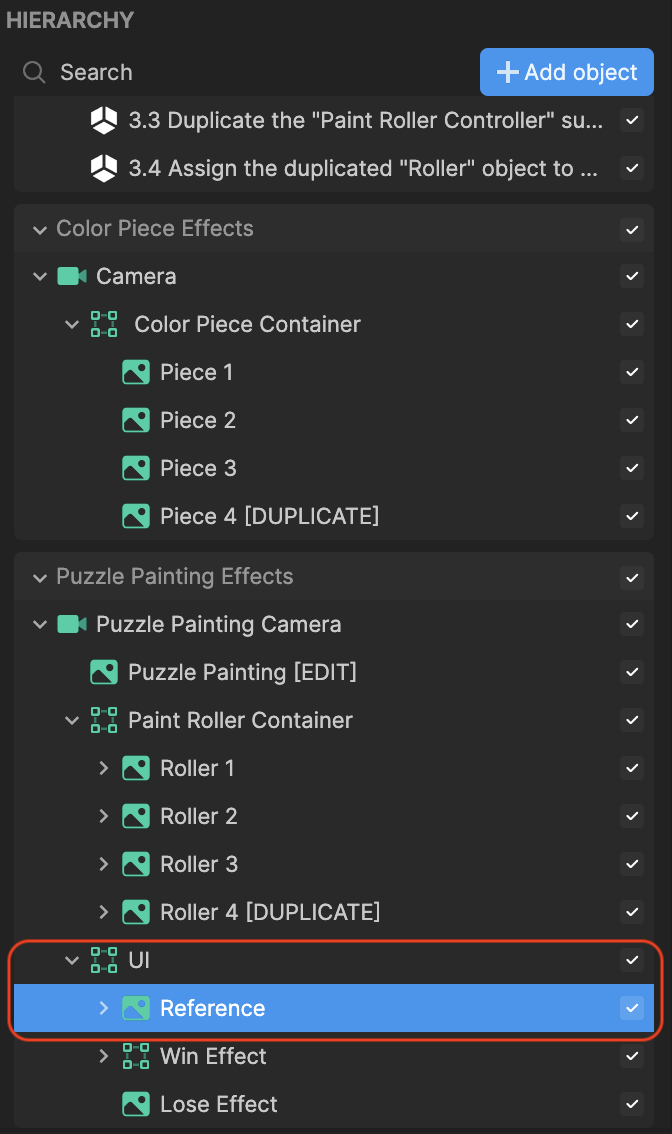
Hierarchy
The Hierarchy panel consists of the following render groups:
- Tip: To Modifiy Puzzle Painting contains helpful hints to customize the effect
- Color Piece Effects contains the various color pieces
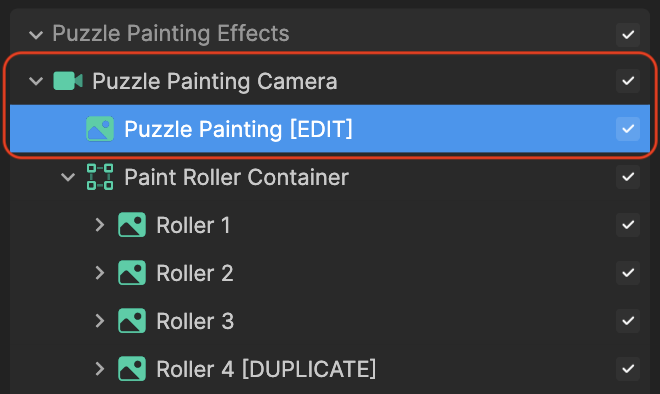
- Puzzle Painting Effects contains the following:
- Puzzle Painting [EDIT] renders the reference image at the top
- Paint Roller Container holds all the different paint rollers
- UI renders the win and lose effects that appear at the end of the game

Change the Reference Image
You can start by customizing the reference image at the top by swapping it out with one of your own!

To swap out the reference image:
- Go to the Hierarchy panel
- Go to UI and click Reference
- Go to the Inspector panel and locate the Image component
- Click the + Import button and select From Computer (you can import one from Asset Library)
- Select your image and click Open. Your image is replaced!
Change the Painting Canvas
After you change the reference image, let's change the painting canvas image to one you've customized to match your new reference image!
If you import your own image, make sure you set the color of the shape to white and the image background to transparent.
To swap out the painting canvas image with your own:
- Go to the Hierarchy panel
- Go to Puzzle Painting Camera and click Puzzle Painting [EDIT]
- Go to the Inspector panel and locate the Image component
- Click the Texture field
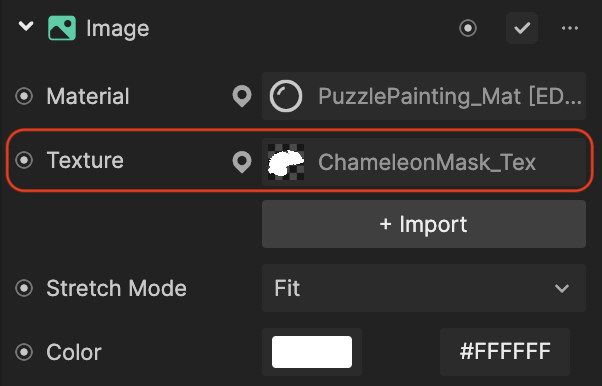
- Select your texture and click OK (you can import one from Asset Library)
Now let's assign the new shape image as the mask and outline texture:
- Go to the Assets panel
- Go to Materials and click PuzzlePainting_Mat [EDIT]
- Go to the Inspector panel and locate the Material Properties component
- Click Mask Texture and select your new texture. Your new image is now applied!
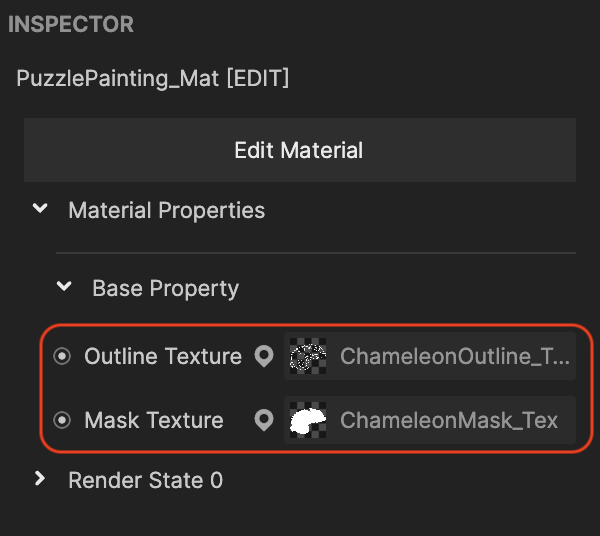
The Outline texture is optional. If you use an Outline texture, the size must match the Mask texture. To add an Outline texture, follow the same logic above. If you don't need it, select None from the Built In Texture folder.
Add More Paint Rollers
You can also add more paint rollers to your template. The number of color pieces should always match the number of paint rollers.
To add more paint rollers:
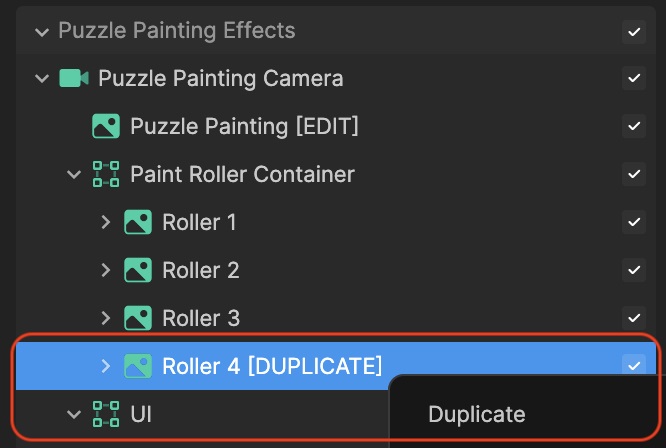
- Go to the Hierarchy panel
- Right-click onto one of the rollers and click Duplicate. A new paint roller is added!
Next, we'll want to create a duplicate paint roller node and assign it, so we can apply Visual Scripting to the new paint roller:
- Go to the Visual Scripting panel
- Click onto one of the Paint Roller Controller and press Command key + D (Mac) or Control key + D (Windows). A duplicate node is created!
The final step is to assign the new paint roller to the new subgraph!
- Go to the Hierarchy panel
- Drag the duplicate paint roller onto Roller Obj within the duplicate Paint Roller Controller node. The new paint roller is now associated with the duplicate node! You can now make additional changes to the paint roller in Visual Scripting.
Visual Scripting
The Paint Roller Controller subgraphs allow you to change various settings for each paint roller.
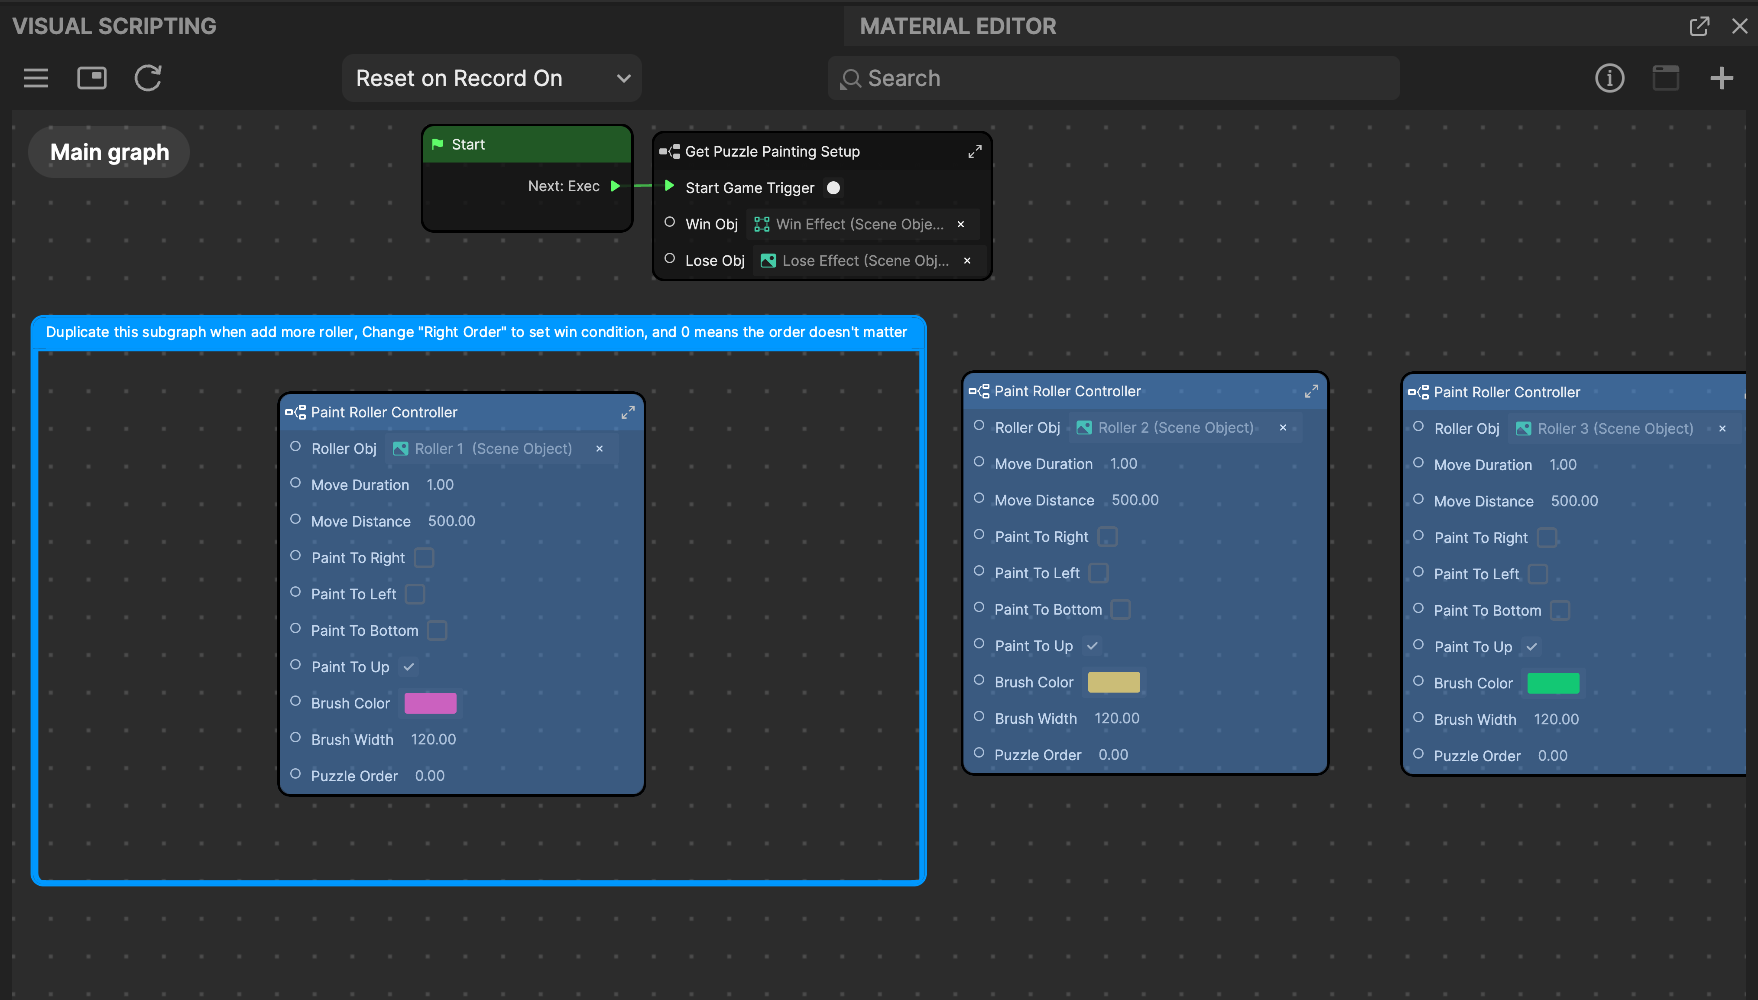
If you want to change the paint rollers direction, you should change the position and rotation first. To do this, go to the Inspector panel and locate the Screen Transform component and adjust the Position and Rotation. Then, choose the paint direction you want for the roller.
- Roller Obj associates the target paint roller scene object that this subgraph controls
- Move Duration controls the speed of the roller movement
- Move Distance controls the distance of the roller movement
- You can only choose one of the following direction options for each roller:
- Paint To Right makes the roller move direction from left to right
- Paint To Left makes the roller move direction from right to left
- Paint To Bottom makes the roller move direction from up to down
- Paint To Up makes the roller move direction from down to up
- Brush Color changes the color when the roller moves and paints. It also defines the roller color.
- Brush Width changes the width area when the roller moves and paints
- Puzzle Order changes the correct order you set to win the game, with 0 meaning the order of the paint roller doesn't matter